Aurora photography is a unique challenge to newcomers, but it’s not as hard as you think. You can capture beautiful shots of the Northern Lights from your home or hotel room with the right equipment and settings. You don’t need expensive gear or fancy post-processing skills—just these tips for photographing the aurora borealis in all its glory:
Use a sturdy tripod
One of the most important things you can do to improve your photography is to use a tripod. A sturdy tripod will help reduce camera shake, allowing you to take long exposures without blurring your shot. Using a tripod will enable you to keep both hands free and adjust settings, making it much easier for beginners.
However, tripods don’t come cheap! Most good ones cost over $100, and some can be upwards of $1000 depending on what features are important to you (like how many pounds they can hold). But if budget isn’t an issue and you want something high-quality right away, look no further than our favourite: Manfrotto Befree Tripod!
The Manfrotto Befree is an excellent choice because it comes in at under $100 while still being sturdy enough to support heavier camera setups like DSLRs or mirrorless cameras; it also folds up into itself so that when not in use, takes up less room than other models — this makes it perfect for travelling since there’s no need for extra space in your bag just for storing your equipment! Thanks to its fluid head system, you’ll also love how smooth all movements are, allowing easy panning motions with minimal resistance from friction caused by moving parts rubbing against each other (like when turning on/off any appliance). Last but certainly not least…this baby doesn’t weigh much either — just two pounds total weight, including both legs attached together, which means if need be…you could easily carry it around all day long without feeling weighed down by these heavy-duty sticks!
Use manual focus
When taking photos of auroras, you must remember that the eye does not naturally see everything in focus. An image that is out of focus will look blurry and unappealing.
Using manual focus is the best way to ensure that your images are sharp. In this case, “manual” means doing it yourself—not letting your camera do all the work by choosing automatic settings.
Once you’ve selected your shot and set up your tripod (tip #1), pick a fascinating subject and center it in your viewfinder or monitor screen if using a digital camera with live view functionality. Then use the hyperfocal distance formula (this page) to figure out how much depth of field will be captured by any given aperture setting on your lens: f/2.8 gives approximately 1/3rd depth; f/4 gives approximately 2/3rds depth; f/5.6 gives 95% depth; f/8 gives 98% depth; f/11 gives 99% depth; etc., up until infinity (which would capture 100% infinity).
Set your camera to the correct settings
When shooting in Aurora, setting your camera correctly is essential. This will help you achieve good exposure and give you room for error if something goes wrong.
We recommend setting your camera to aperture priority mode (A or Av). If a scene is too dark, adjust your aperture accordingly — this will also allow you to use faster shutter speeds. On the other hand, if a location is too bright or overexposed, close down the aperture until everything looks right on the screen!
Also, make sure you’re using manual and locking focus before pressing that shutter release button! Your lens should be set to its widest aperture — this allows for more light into the camera sensor without sacrificing the quality of the image produced by diffraction effects (which occur when using smaller focal lengths). The best way around this problem is by using a wider lens like 16mm f/2 or 24mm f/1.4 prime lenses with an APS-C-sized sensor rather than buying expensive full-frame cameras.
Use a remote shutter release or the self-timer to reduce camera shake and get sharp images
To minimize the effects of camera shake when taking pictures, you should use a remote shutter release or the self-timer to reduce the impact that pressing the shutter button has on your image. If you don’t have either of those options available, try setting your delay time to at least ten seconds and pressing down halfway before fully depressing it. This will allow a slight vibration from pressing down halfway that won’t be transferred into your image once it’s taken.
Another good way to minimize camera shake is using a tripod when shooting long exposures in low-light situations. Tripods are handy for Aurora photography because they enable photographers to take longer exposures without worrying about motion blur caused by shaky hands or windy conditions affecting their images negatively—and with all that extra time in front of them (without having their hands complete), photographers also have more freedom when experimenting with different compositions!
Finally, set all of your camera settings manually using manual focus instead of relying on autofocus whenever possible; this will allow you greater control over how things look while also giving you an extra layer between yourself and any potential problems that can occur during operation!
Try light painting for a unique look
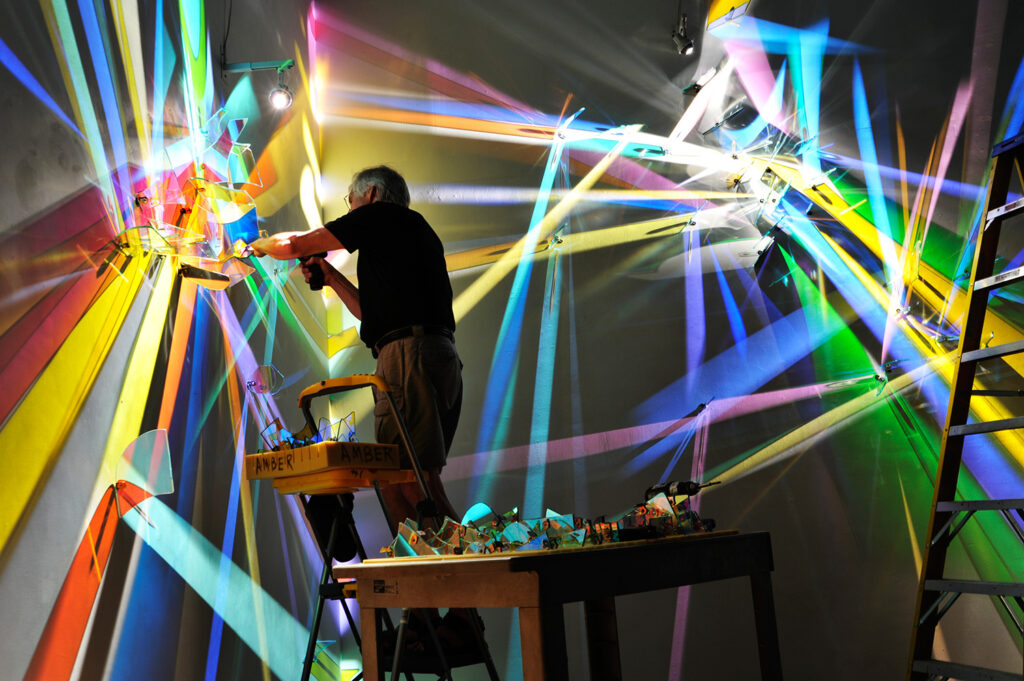
Similarly, light painting can create trails that add to the atmosphere. Light up objects in your shot with a flashlight or LED light, and then use a long exposure to capture the outline of your handiwork. You can also try different angles and ways of holding your light!
Shoot at the golden hour for more colour in your sky and reflectivity on water or snow
The golden hour is correct before and after sunset or sunrise when the light is warm and soft. This is a great time to photograph waterfalls, lakes, and other reflective bodies of water that show off the golden tones.
The best way to ensure you get a beautiful shot of your subject is to shoot during this magical period, where everything looks better than any other day!
You don’t need fancy equipment to take amazing Northern Lights photos!
In this section, you’ll learn how to take amazing photos of the Northern Lights with your DSLR or mirrorless camera.
You first need to know that you don’t need fancy equipment to take photos of the Aurora; you only need the camera (and lens) you already have!
However, if you want to take better photos than possible using a smartphone or point-and-shoot camera, I suggest buying yourself a sturdy tripod for each photographer and someone who can help hold it steady. You should also invest in manual focus so that your images are sharp, no matter the light conditions. Finally, ensure that when it comes time to shoot, everyone has their batteries charged up fully, so there’s no chance of running out during a crucial moment.
So there you have six easy ways to shoot the Northern Lights. Now all that’s left is for you to get out there, get creative and start shooting! And remember, this list is by no means exhaustive—there are so many different things you can do when it comes to aurora photography, so experiment with other techniques until you find one that works best for you.

